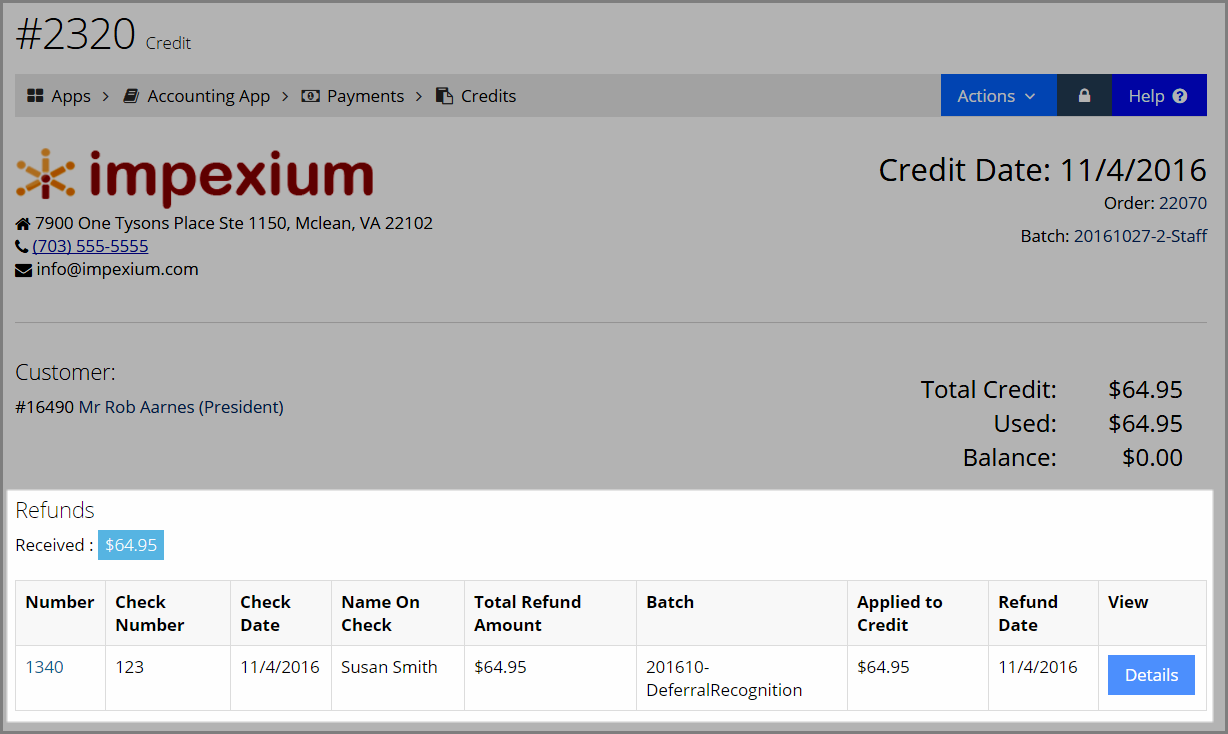
Issuing Refunds
To refund a payment to a customer, a credit must first be created. The credit can then be refunded. For assistance issuing a credit, see the help topic: Issuing Credits
To issue a refund:
-
Open the Credit Record.
The credit can be accessed from the Payment Record, or by searching the Accounting App > Credits feature. -
Click the Issue Refund button. The Issue Refund form will appear.
-
Under Select an Option, choose refund type.
If the original payment was via credit card, the Refund to Credit Card option will appear. Otherwise, staff can choose the Check option to record information about the refund check sent back to the customer.
The cancel option cancels the store credit on the customer record and the funds are absorbed into the selected AR account. (For more, see Canceling a Credit Without Issuing a Refund.) -
The full amount of the credit will automatically appear in the Refund Amount field.
-
For check refunds, enter the Name on Check of the refund check, record the Check Number, and enter the Check Date.
-
Choose the Default Refund GL Account. Available accounts are listed by type in the following order: cash, liabilities, equity, revenue, and expenses.
-
-
Click Save. The credit on the customer's account is zeroed out.
Note: This refund process records information about the refund check that was created in your accounting system (Quick Books, Peachtree, etc.) and removes the credit from the customer's account.